You Can Make Your Own Coloring Book With This Easy Tutorial
January 04, 2021 By Jessie Oleson Moore filed under Art Blog .
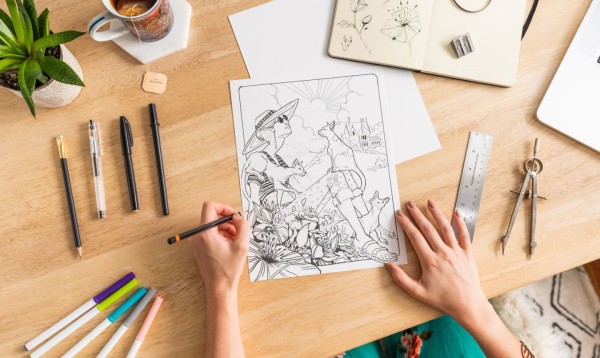 Let’s be real: you don’t have to be a kid to love coloring. Adult coloring books are super popular for good reason — not only do you have a beautiful piece of art when you’re finished, but a 2017 study found that coloring reduces stress and anxiety while encouraging perseverance. So really, the question is: why aren’t you coloring? If it’s just that you haven’t found the right book, there’s great news: you can make your own! In fact, DIYing a coloring book is easier than you might think, not to mention it adds to the creative process. And with the tips and tutorial below, you’ll be well on your way to becoming a coloring book master.
 Determine Size and Alignment
Before you start drawing your pages, you need to do a little planning. First and foremost: determine how big your coloring book will be. You can make it any size you want, but it’s easiest to keep it 8.5″x11″ so you can easily scan and print the pages from home. Make sure to think about alignment, too. It might be a bit jarring for someone to flip through your coloring book and have a mash of vertical and horizontal images, for example. So try to make each picture align either vertically or horizontally.Choose a Theme
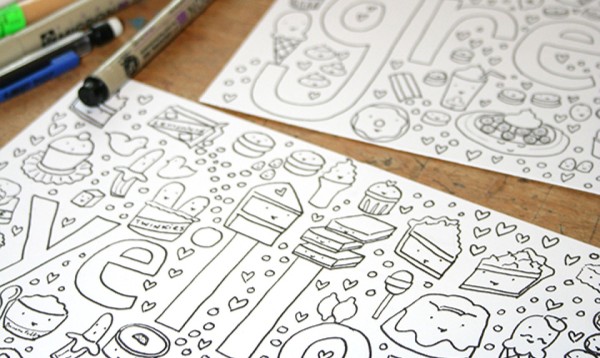
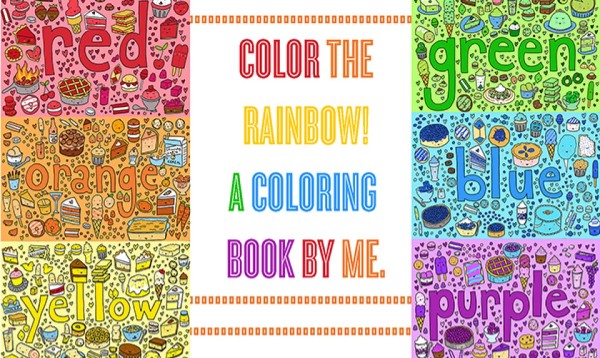
This is where you have all the artistic freedom. Find a theme that inspires you and start designing your pages. (Struggling to choose what to draw? There’s lots of inspo from the cool artists in Doodle Wars.) Pro Tip: For your first coloring book, keep it simple. Start by designing about five pages so you can practice putting a book together. You don’t have to immediately launch into a 50-page beast. Your book can showcase anything you want — from nature scenes to food to abstract mandalas. We decided to do a rainbow theme, with each page a different ROYGBIV color. Here are a few of the pages to get you inspired: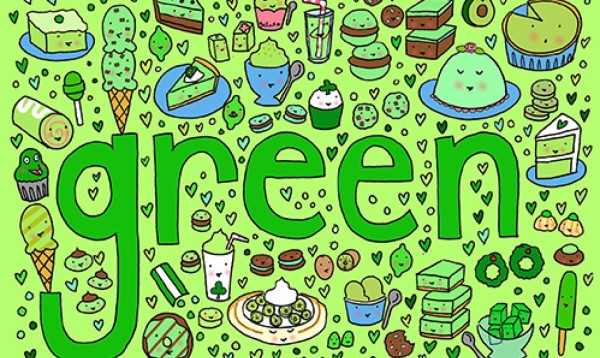 With the digital colors removed, the black and white outlines make great coloring book pages.
 Plan for the Medium
If you know you’re going to use markers to color your pages, don’t make your pages double-sided — the heavy pigment of the marker will show through, ruining the image on the backside. It’s also not a bad idea to leave a white page in between each image, just in case. The coloring medium you plan to use also makes a difference for your designs. For example, using watercolors versus colored pencils will affect how you make your lines and how big or small you leave your spaces. For watercolor, you’ll want keep designs simple with room to breathe. Colored pencils or markers, on the other hand, can be much more precise for coloring in finer details.It’s Go Time!
Once your designs are mapped out, here’s how to draw and build your coloring book.1. Start Drawing
 Coloring books feature bold black and white pages. Which is why, if you’re working by hand, a large-tip pen or a black marker is ideal for creating your images. The pages can also be drawn digitally, if that’s your preferred method. Pro Tip: If your coloring book has a certain order the pages should go in (like our rainbow book), make sure to include a page number to help keep the assembly straight. While confident artists can definitely draw pages freehand, many prefer to start with a pencil sketch to help establish the composition and layout before making it permanent. Once you’re satisfied with a sketch, add the ink on top, wait for it to dry and erase any pencil lines that show through. Work page-by-page until you have a handful of finished images.
 2. Scan
Once the pages are finalized, it’s time to scan ’em. If you worked on 8.5″x11″ paper, your computer will easily format the scan to a printable page — other sizes may require a little photo editing.3. Print
Print all of the pages in the same size. Trim the pages if there’s a lot of excess white space. Organize the pages in the order you want.4. Make a Cover
 This step is optional, but adding a cute cover ties your coloring book together. Design a page just like you did before, scan and print.